
To see the corresponding article please go HERE
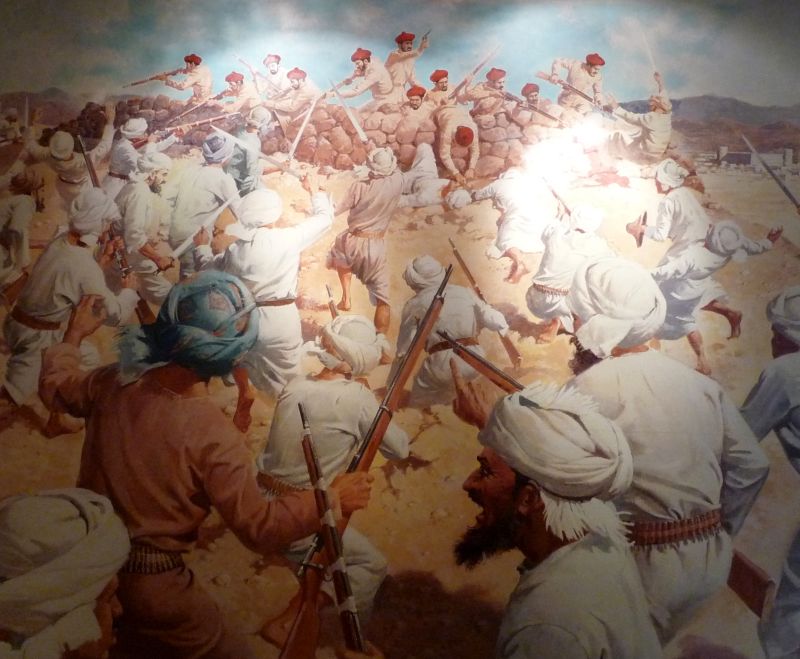 | | Above: A depiction of the Battle of Muscat |
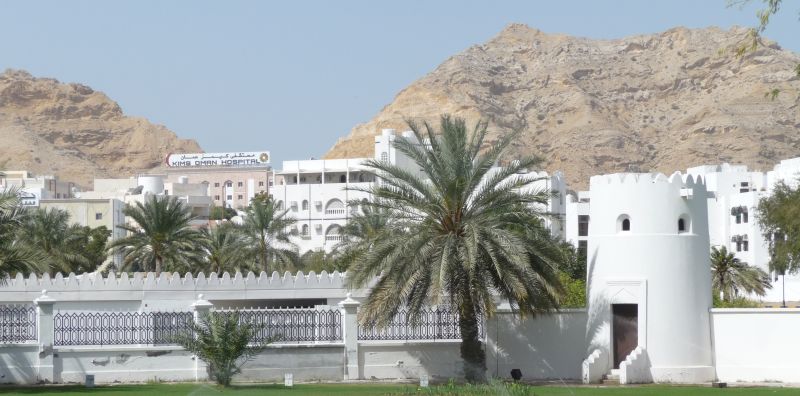 | | Above: Part of the picqueted ridge viewed from inside Bait Al Falaj fort. |
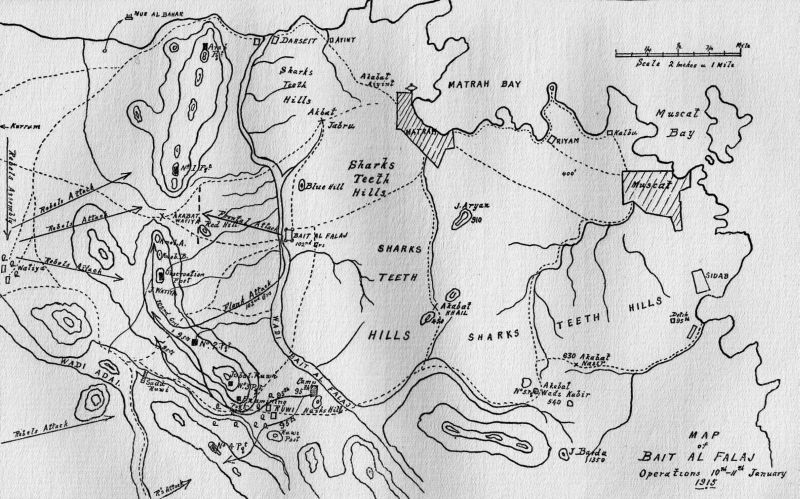 | | Above: Sketch map of the Battle of Bait Al Falaj, Muscat |
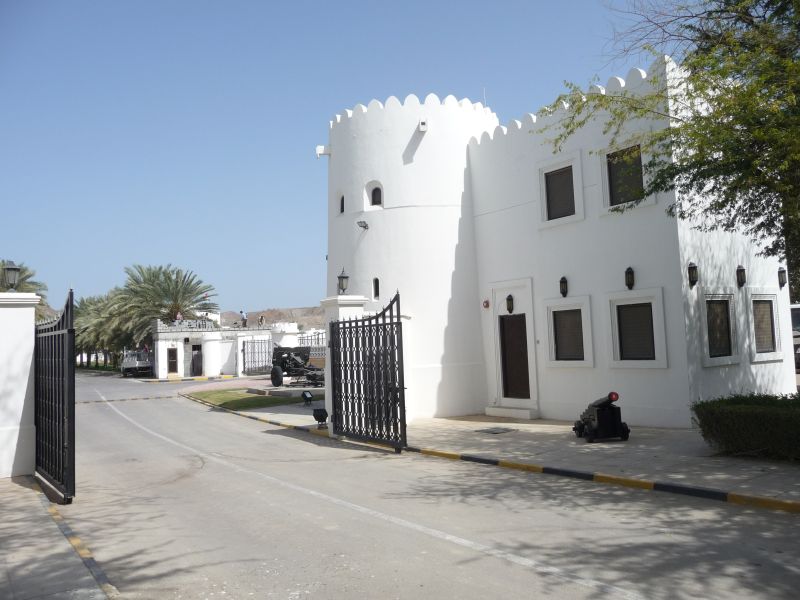 | | Above: Bait Al Falaj entrance |
 | | Above: Plan showing the enemy attack in red, and the defenders' counter-attacks in green |
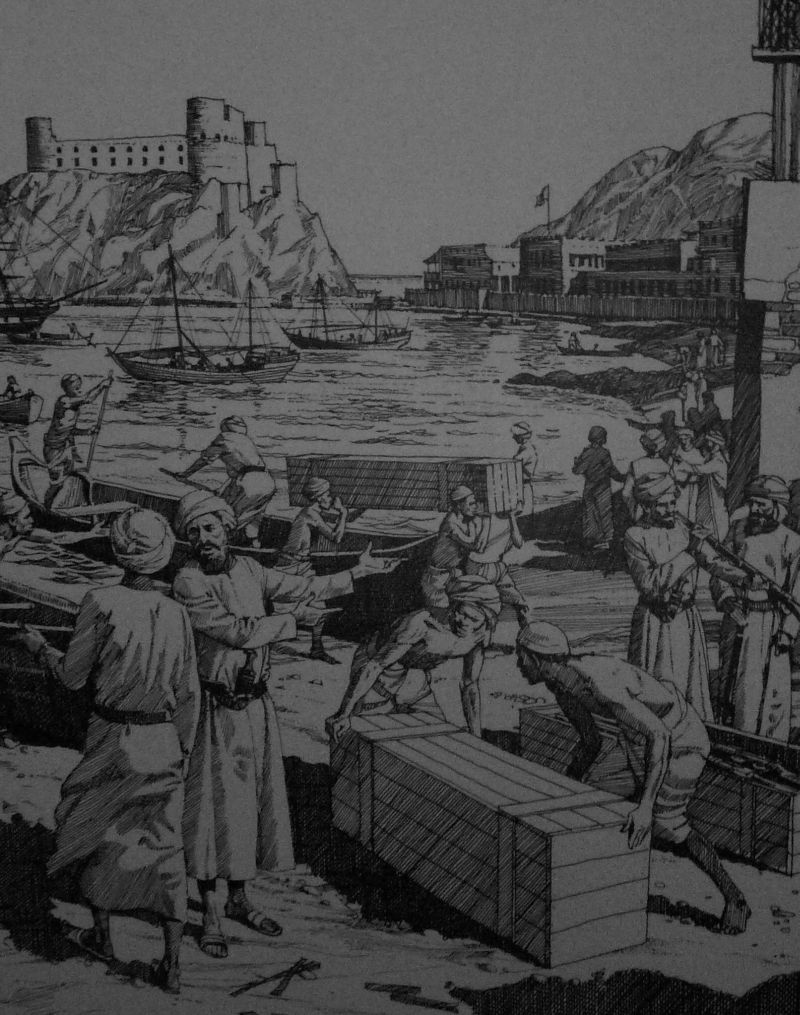 | | Above: A depiction of the arms trade in Muscat harbour. |
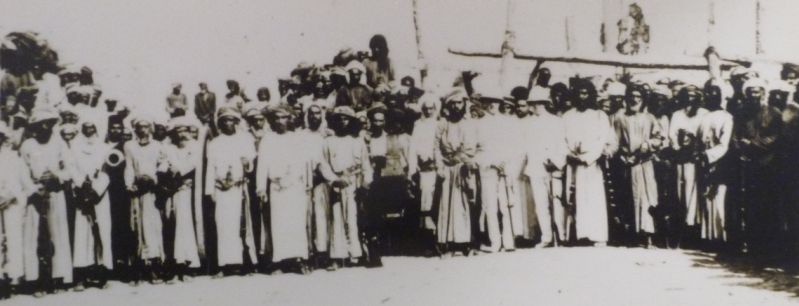 | | Above: Sultan Taimur's soldiers at Bait Al Falaj |
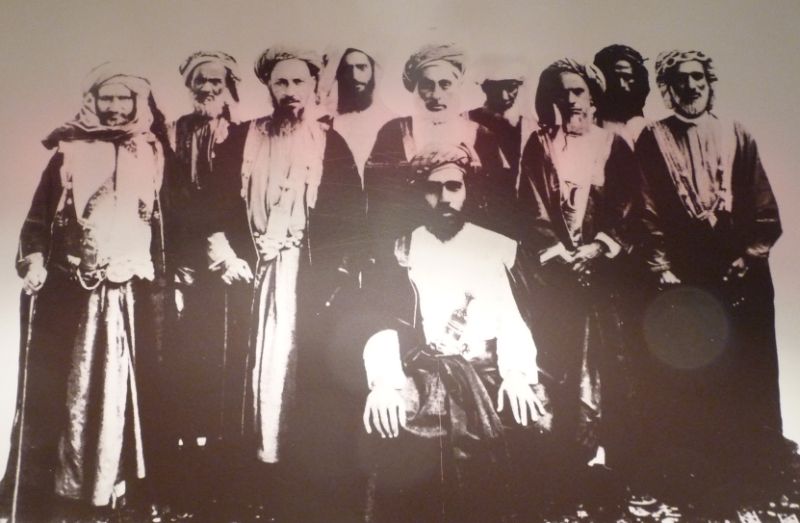 | | Above: Sultan Taimour and his Courtiers |
|